

AppKeeper: From Signing Up to Start Monitoring
Table of Contents
- Sign up with AppKeeper
- Creating an IAM Role
- Creating a Tenant (Adding an AWS account)
- Registering an Email Address to Receive the Notification
- Start monitoring
Sign up with AppKeeper
From the AppKeeper new registration (free) page at https://us.sios.com/sios-appkeeper/ enter your email address to register your account.

The email with the subject: "SIOS AppKeeper: Your account has been successfully created" will be sent to the email address you entered.

Go to the link in the email and verify your email address. After your email address is verified.

You will be able to sign in to AppKeeper.

After signing in, you can enter the AppKeeper dashboard.

Prerequisites for using AppKeeper
*Before using AppKeeper, you need to satisfy the support requirements. In addition, SSM must be installed on the instances to monitor with AppKeeper. Please make sure that the SSM Agent is installed and available on all the instances you want to monitor beforehand. (AmazonEC2RoleforSSM role is required for EC2.)
Creating a Tenant (Adding an AWS Account)
AppKeeper calls AWS accounts “tenants” to manage.
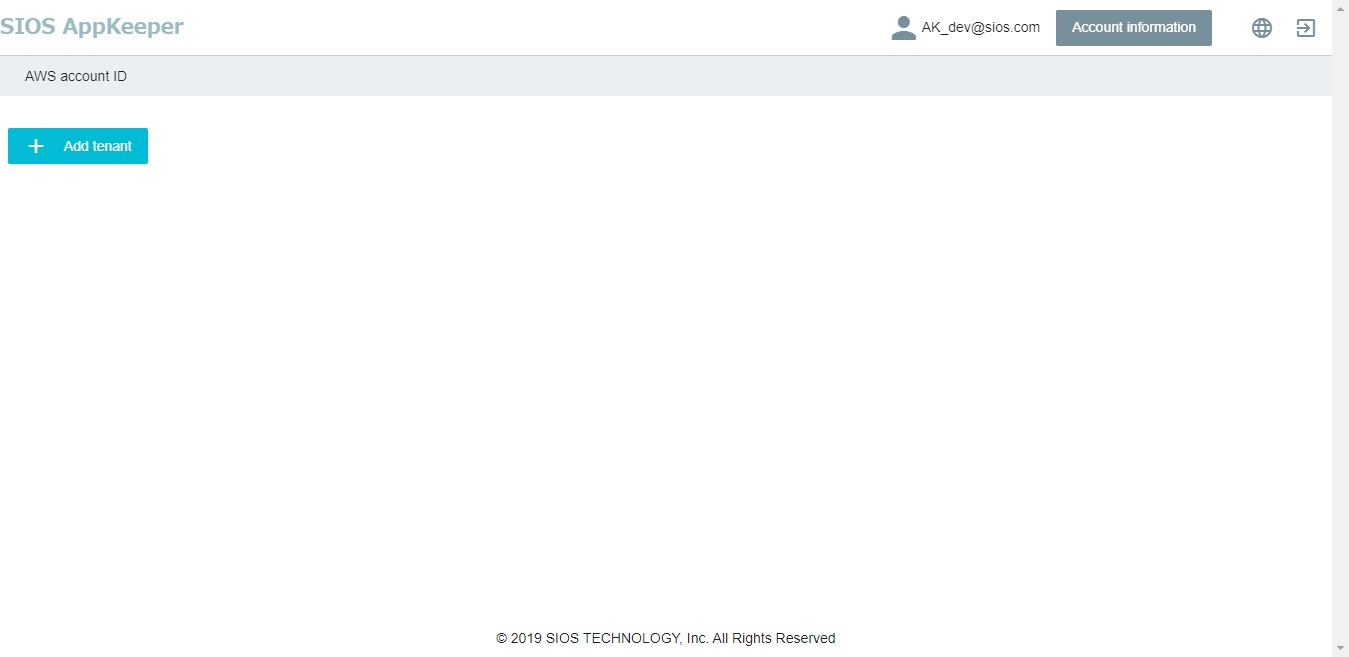
1. When you sign in to AppKeeper, you will be navigated to the following window. Click the Add Tenant at the bottom left.
2.The following window opens. Enter the information for each field and click Add.
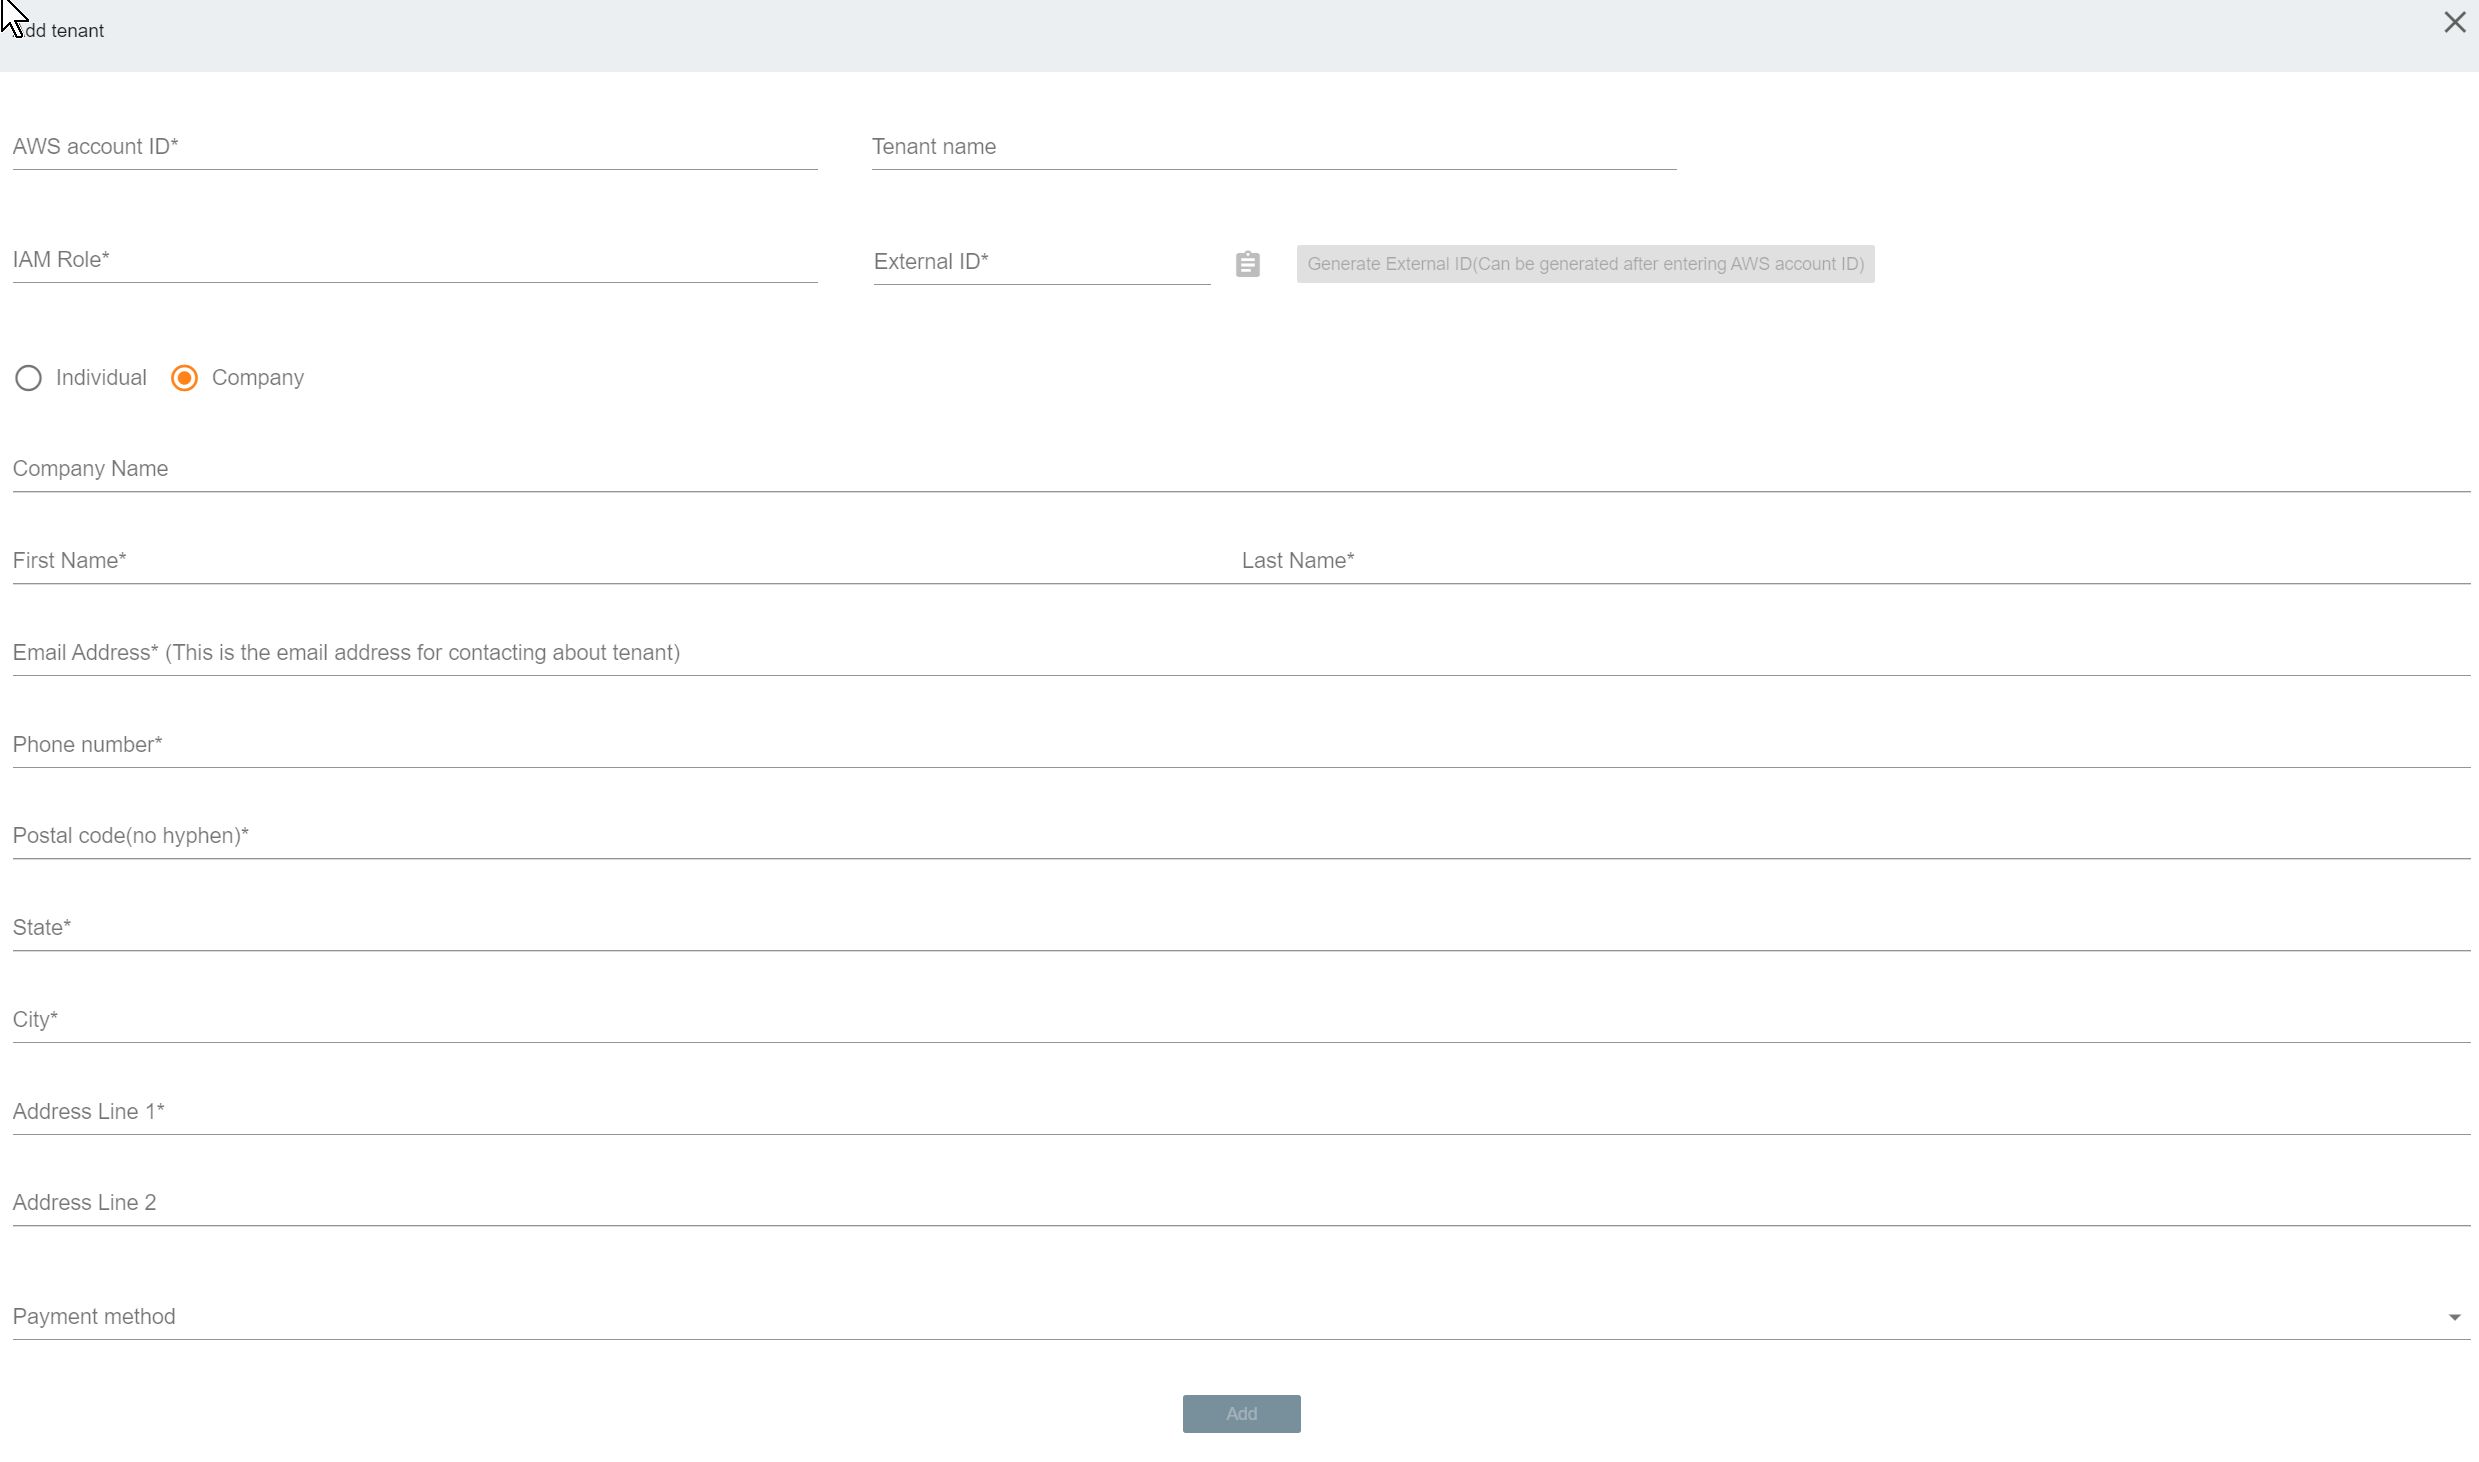
The External ID is required for IAM Role creation, so write down it(Push ![]() button to copy the External ID to the clipboard).
button to copy the External ID to the clipboard).
3. If the tenant added earlier is displayed in the list, your tenant is created successfully.

Creating an IAM Role
In order to monitor the status of Amazon EC2 instances with AppKeeper, you need to configure an IAM Role for your AWS environment.
The IAM Role required for AppKeeper is automatically set by using CloudFormation.
When creating an IAM Role using CloudFormation, select either of the following steps: creating from the AWS Management Console or creating from the AWS CLI.
*An IAM Role containing the IAM Policy in [IAM Policy Details] (link to IAM Policy) is created. Please check the details before creating.
*In environments where CloudFormation is not available, see “Creating IAM Role Manually” section.
Creating an IAM Role Using the AWS Management Console
Download and edit template
Download the template from the following URL.
https://coati-cloudformation-template-product.s3-ap-northeast-1.amazonaws.com/coati_iam_role.template.yml
Open the downloaded template in a text editor and copy the External ID generated at Creating a Tenant (Adding an AWS Account) into the following section and save it.
Resources:
  CoatiIAMRole:
    Type: AWS::IAM::Role
    Properties:
      RoleName: !Ref IAMRoleName
      AssumeRolePolicyDocument:
        Version: "2012-10-17"
        Statement:
          - Effect: "Allow"
            Action: "sts:AssumeRole"
            Principal:
              AWS:
                - "398878680527"
            Condition:
              StringEquals:
                sts:ExternalId: "Copy the External ID here"
Creating an IAM role using the template
- Log in to the AWS Management Console.
- Go to Service -> CloudFormation -> Create Stack.
- Select Upload a template and specify the template file that you have already edited in "Choose File" Template Download and Edit.

https://coati-cloudformation-template-product.s3-ap-northeast-1.amazonaws.com/coati_iam_role.template.yml
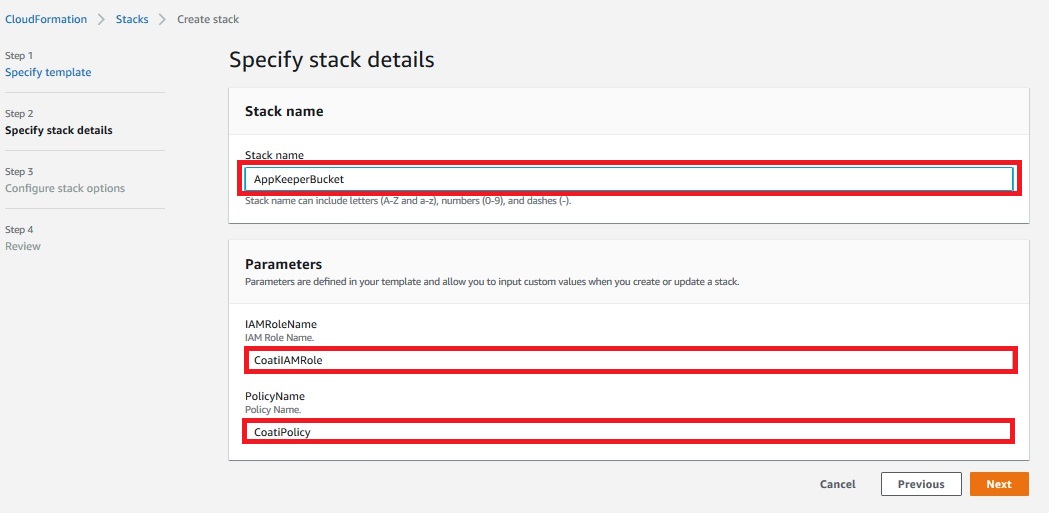
4. Enter any name in the Stack name, IAMRoleName, and PolicyName fields, and click Next.
5. Enter Configure Stack Options if necessary. If not necessary, just click Next.
6. In Review, check the following check box and click Create Stack.

7. Make sure that the stack status is “CREATE_COMPLETE.”
Now an IAM Role is created.
Go to Registering an Email Address to Receive the Notification.
Creating an IAM Role Using the AWS CLI
Execute the following command:
aws cloudformation create-stack --stack-name AppKeeperIAMRoleStack --template-url https://coati-cloudformation-template-product.s3.amazonaws.com/coati_iam_role.template.yml --capabilities CAPABILITY_NAMED_IAM --parameters ParameterKey=IAMRoleName,ParameterValue=AppKeeperIAMRole ParameterKey=PolicyName,ParameterValue=AppKeeperPolicy
*You need an environment where the AWS CLI is available and permission to use the AWS CLI.
Now an IAM Role is created.
Go to Registering an Email Address to Receive the Notification.
Registering an Email Address to Receive the Notification
Register an email address to receive the notification when AppKeeper detects a failure.
- Click the Add Email Address at the bottom of the Notification Settings section.

- On the Add Email Address window, select the email address, timing and language for receiving the notification. Add other email addresses to receive the notification if necessary.
 *You can register up to three email address for one tenant.
Start Monitoring
Click to expand the panel of the added tenant.
- Detect resources
Click Detect Resources.
With this function, AppKeeper retrieves and lists the resources (EC2 instances) that you have on the AWS. Also, if the number of EC2 instances increases or decreases, it can be updated to the latest state by detecting resources again. 
When you click it, you will be asked if you want to perform resource detection. To detect a resource, click Resource detection.
 2. Select instances to monitor
Check the Monitor checkbox of the instance you want to monitor and click Save.

3. Select services to monitor
Click Settings in the Service Settings column.
Select the services you want to monitor and click Save.

You can select any services you want to monitor.
For guidelines on selecting services, see Guidelines for Selecting Services to Monitor.
4. Recovery settings
Make sure that the “Standard” is selected for “Recovery Settings.” 
You can set recovery actions from "Recovery Settings" when a failure occurs.
Click here for details on the operations for each setting.
5. Start monitoring
Click Start/Stop Monitoring to initiate AppKeeper monitoring. 
Click Start / Stop Monitoring to start monitoring AppKeeper.

Monitoring is started for the instances for which the Monitor checkbox is checked when the monitoring status of AppKeeper becomes "Started."
About Billing
AppKeeper is charged on a per instance basis. If an instance meets the following criteria, it will be charged.
- Instances have been detected by Resource Detection
- Instance status is Monitoring
Specifically, the status of the instance is Monitoring in the following cases.
- Monitoring Setting of the instance is On (Monitoring Setting checkbox is checked).
- AppKeeper status is Running.
You can check the status of the instance from the GUI.

Comments
0 comments
Article is closed for comments.